Don't forget about my giveaway! :)
I promise, I've been trying to get better at tutorials! They are just so time consuming and make my posts picture heavy. I hope you're ready for a lot of pictures today! :)
I promise, I've been trying to get better at tutorials! They are just so time consuming and make my posts picture heavy. I hope you're ready for a lot of pictures today! :)
Today I did plastic wrap nails! I really love this form of nail art because it really is simple and practically everyone has some form of plastic wrap at home! Begin by choosing two colors. I'm going with Zoya Neve and Mason today. Polish your nails the lightest color first. Zoya Mason is a really great red-violet-pink metallic polish that almost seemed like it has a little bit of a bluish duochrome to it!
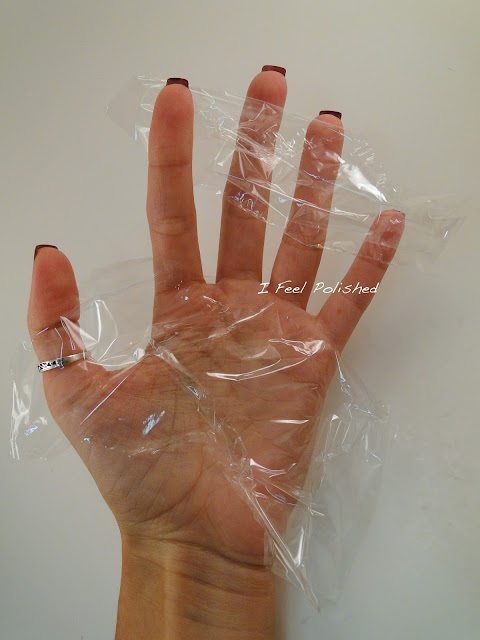
Then, get your plastic wrap ready. I rip a section off of the roll that it about two inches tall. Then, I cut it in half:
Keep going until you have ten of these pieces. Then, ball them up:
Before you begin, make sure your base color is dry! Then, working on one nail at a time, polish over that color with your darker color. Take a balled up piece of plastic wrap and dab it all over your nail until you are satisfied with the look:
Continue doing this until all of your nails are done! My darker top color was Zoya Neve, a sapphire blurple-ish metallic.
Then, to jazz these up, I added some silver studs. To do this, I just added some top coat and, using an orange stick and my lick-and-stick method, stuck the studs on! These studs are from the Born Pretty Store and they are awesome! Easy to work with and really affordable at $5.86 for a whole baggie! After those were on, I added another layer of top coat to seal them in! I've had this mani on for four days and they still look awesome! Enjoy! :)
P.S. Born Pretty Store has offered all of my readers a 10% discount! And they always have free shipping! Eeek! Use the code: HTCG10 on any order you place! I got my stuff in two weeks and all of it was great! I'll be showing you some more of it soon! You can also find the link to your right at all times! <3
*The products in this tutorial were provided to me. All opinions are my own, as always!*


I love the saran wrap method! These look great! :)
ReplyThis looks great! I love the two Zoya colors together!
ReplyThis is super cool! I've only tried Saran Wrap nails once and completely failed -_- but your tutorial makes it look really easy so I have to try it again! Lol! And the studs just give it that final touch. Really pretty lady!! :)
ReplyVery pretty. I did this adding colour with plastic wrap rather than taking it away. It came out almost Monet looking. I posted a pic of it on your facebook post. Zoya Mason is a gorgeous colour. I don't have it >yet< lol.
ReplyMe too! So easy! Thank you! :)
ReplyThank you! I love them together, too!
ReplyYou should definitely try it again! It's easy and just takes a little practice! :)
ReplyI saw them on my FB! They are gorgeous! I'll have to try them in reverse, too! Mason is so pretty! Love it! :)
Reply