Wednesday, October 31, 2012

Halloween Nails: MUMMIES!

SURPRISE POST! Happy Halloween! 

I had one last Halloween mani and I figured that today would be the perfect day to share it! For my final set of Halloween nails, I decided to attempt some mummy nails. First, I polished my nails with China Glaze Kalahari Kiss. Once that was dry, I taped off my nails with striping tape making sure to leave a triangular space for the eyes. I polished over the tape with OPI Black Onyx and then pulled the tape off. I finished these mummies up with some OPI Alpine Snow eyes and Black Onyx pupils using one of my dotting tools. These turned out a little sloppier than I had hoped, but I can always attempt them again next year! I hope you've liked my Halloween nails this month! Enjoy! :) 

Halloween Nails

Halloween Nails

Mummy Nails

Tuesday, October 30, 2012

Breast Cancer Awareness Nails: Take Four

We had a pink day at work where everyone (including the men) wore pink to support breast cancer awareness! It was awesome seeing everyone in pink and the students loved it! I wore a pink striped shirt, so I polished my nails to match! It was a near perfect match! I also used my pink microbeads for the accent nail. If you've never used microbeads (think caviar mani), then it might be something you'd like to try! They are really easy to work with and they are relatively cheap.

For this mani, I used Zoya Lara and Zoya Gaia. After three coats of Gaia (and ample dry time), I taped off the stripes using striping tape. I then carefully polished Lara in the stripes and then pulled the tape off while Lara was still wet. For the accent nail, I used an orange stick to dot off the ribbon. Then, I placed each microbead with the orange stick. I love these and I love the textured accent nail, too! Enjoy! :)

Breast Cancer Awareness Nails

Breast Cancer Awareness Nails

Breast Cancer Awareness Nails

BCA Nails

Saturday, October 27, 2012

Halloween Nails: Plastic Wrap Style

The Halloween nails continue! I've been wanting to try the plastic wrap marbling technique so I figured now was the perfect time to give it a shot! To do the plastic wrap method, choose two colors and polish your nails the lighter of the two colors. I chose OPI Black Onyx and OPI Atomic Orange. I polished all of my nails, except for the accent nail, with Atomic Orange. I used two coats and let it dry very well. Meanwhile, I polished my accent nail with two coats of Black Onyx. 

Once Atomic Orange was really dry, I cut small pieces of plastic wrap off the roll. The pieces need to be a little bigger than the size of your nail after you crinkle them up. I crinkled up eight of them so that they were ready to go and I didn't have to try and crinkle them with wet nails. Then, work on one nail at a time. I polished one coat of Black Onyx over each nail that already had Atomic Orange on it. After polishing the first nail, I then dabbed the nail with a piece of crinkled plastic wrap. You can dab it more or less depending on how marbled you want your nails to look. Repeat this on each nail and viola! You're left with awesome nails that look like they took a lot of effort even though they didn't! :)

For my accent nail, I polished one coat of Sonnetarium Demonized over Black Onyx. Demonized is a gorgeous polish full of color shifting glitter. It's absolutely beautiful. I included the bottle in one of the photographs so you could see it in all of its glory. After that, I just used an orange stick and OPI DS Radiance to draw on a spider web. Have you ever done the plastic wrap method? If you try it, be sure to post a picture on my  wall! Enjoy! :)

Plastic Wrap Nails

Plastic Wrap Nails

Halloween Nails

Halloween Nails

Tuesday, October 23, 2012

Breast Cancer Awareness Nails: Take Three

Sick of my Breast Cancer Awareness nails? Don't worry, I only have one more after this one! For this mani, I chose to feature my grandma's initials! I used to want a tattoo of her initials when I was younger, so my mom would be proud that they're on my nails instead of my body, hahaha! Of course, I had to do a jelly sandwich, too! I love jelly sandwiches because they last FOREVER! Have you had a similar experience with jelly sandwiches? 

I used Julep Kate for the base of these nails. I then used Essie A Cut Above for the gorgeous pink glitter. I only used one coat of ACA! Essie has awesome glitter polishes! I finished it up with one coat of OPI Don't Touch My Tutu. For my accent nail I used OPI BLAH BLAH to write "ADO" on my nail. I also used some heart glitter I ordered on Etsy before finishing it off with Don't Touch My Tutu. In the future, I'd use a less hot pink for the initials. I assumed the jelly would mute it more than it did. Enjoy! :) 

Breast Cancer Awareness

Breast Cancer Awareness

Breast Cancer Awareness Nails

Saturday, October 20, 2012

Halloween Nails: Candy Corn

If there's anything I love more than a good water marble, it's a great gradient! :) I absolutely love doing gradients because they are easy and look awesome when you're finished! And of course I HAD to do a candy corn gradient for Halloween! I even studied up on the colors while I was grocery shopping the other day! :) I always use a sponge when I'm doing a gradient. It seriously makes it fool-proof. It's my go-to holiday mani and I even did a tutorial a few months ago if you need help creating a gradient look!

For this mani, I used Zoya Pippa, Zoya Arizona, and OPI Alpine Snow. I polished my entire nail with Alpine Snow and allowed that to dry. Then I polished Pippa, Arizona, and Alpine Snow onto the sponge before rolling it onto my nail. I actually taped around my nail before using the sponge and it made clean up a million times easier than the last time I didn't use tape. Enjoy! :)

Candy Corn Nails

Candy Corn Nails

Candy Corn Nails


Halloween Nails

Tuesday, October 16, 2012

Breast Cancer Awareness Nails: Take Two

After getting several compliments on my first set of Breast Cancer Awareness nails, I decided to do another mani in honor of BCA! I went more pink with this set of nails with Zoya Shelby. Have I mentioned how much I love Zoya? Anyways, I decided to do a checkerboard pattern on my accent nail using Shelby and Julep Kate. Finally, I used Dollish Polish A Peachy Princess on all of my nails except for my accent nail. A Peachy Princess is a really gorgeous glittery polish named after Peach from Super Mario Bros. When all of my nails were done, I drew "HOPE" on my accent nail. I actually love the way the checkerboard turned out and I definitely think I'll do a full checkerboard mani soon! Enjoy! :) 

Breast Cancer Awareness Nails

Breast Cancer Awareness Nails

Breast Cancer Awareness Nails

Breast Cancer Awareness

Dollish Polish A Peachy Princess

Saturday, October 13, 2012

Halloween Nails: Drippy

*We interrupt this regularly scheduled blog post to remind you about an AWESOME GIVEAWAY! Go enter it now! Carry on! :)*

So, the Halloween nails continue! I knew I had to do a lime green and purple mani as soon as I got Deal With It. It's the most gorgeous bright shimmery green and it dries with an almost satin finish! It just continues my love affair with Cult Nails:

Cult Nails Deal With It

Beautiful, right? I figured A England Avalon was the perfect purple compliment. Avalon is an awesome one coater and I knew it would look wonderful "dripped" over Deal With It. I started with two coats of Deal With It. When that was fully dry, I used striping tape and taped off the tips. Then, I used Avalon to polish the tips. After the tape was off, I used my largest dotting tool to make the drip marks. I started at the top of the drip. I dotted Avalon on and then dragged it downward to the tip. I used the opposite side of the large dotting tool for a few drips, too. I finished it up with a coat of HK Girl! Enjoy! :)

Halloween Nails

Halloween Nails

Halloween Drippy Nails


Tuesday, October 9, 2012

Breast Cancer Awareness Nails

First, have you entered my GIVEAWAY yet?! No?! Go do that now! :)

October is a month that is near and dear to my heart. My grandmother passed away from breast cancer when I was ten and though I remember her every single day, October really feels like it's dedicated to her for me. Of course, I had to mix some BCA nails in with the Halloween nails! I think I'm going to try to do at least one more mani for BCA, but here's the first one!

I used two coats of Zoya Ginessa. I then dotted on OPI DS Elegance and OPI Your Royal Shine-ness. I varied the dot sizes using the larger dotting tool and then the smaller, opposite end. For the larger dots, I also used the smaller end to put a smaller dot in the middle. I drew the ribbon onto my accent nail using an orange stick. Enjoy! :)

Breast Cancer Awareness Nails

Breast Cancer Awareness Nails

Breast Cancer Awareness Nails

Breast Cancer Awareness Nails

Breast Cancer Awareness Nails

Monday, October 8, 2012

300 Likes Giveaway!

When I first started blogging, I was nervous to put my work out there. I kind of kept the blog to myself for awhile. I finally felt confident enough to share my page with others. When I launched my  page and started promoting my blog a little less than four months ago, I never thought I'd have many likes on Facebook, let alone three hundred plus! I'm so honored and thrilled to have each and every one of you here to support me! As a thank you, here is my 300 Likes Giveaway! 


The giveaway will be open until Monday, October 15th at 12:01am. So basically, get your entries in by Sunday evening. I will hopefully be able to announce the winner the 15th after I get out of work! At this time, the giveaway will only be open to those living in the contiguous United States. I will contact you via email if you win. You will have 48 hours to email me back your address before forfeiting your win. Depending on the order the winners are picked in, I will try to give you your first choice (which is a question below) of the prizes as long as you leave your name under your comment. Please understand that I only have one of each prize though! :) If you have any further questions regarding the giveaway, be sure to read the Terms and Conditions at the bottom of the Rafflecopter widget. If your question isn't answered there, email me at and I'll get back to you as soon as possible! If you post a comment under "Anonymous," be sure to leave your name with it or I won't know who left the comment! 

There are five prizes and they are all awesome indies! YAY! You can see the prizes below the Rafflecopter widget! Good Luck! :)


Amy's Nail Boutique: Woodsie's Wish and Sophie mini's

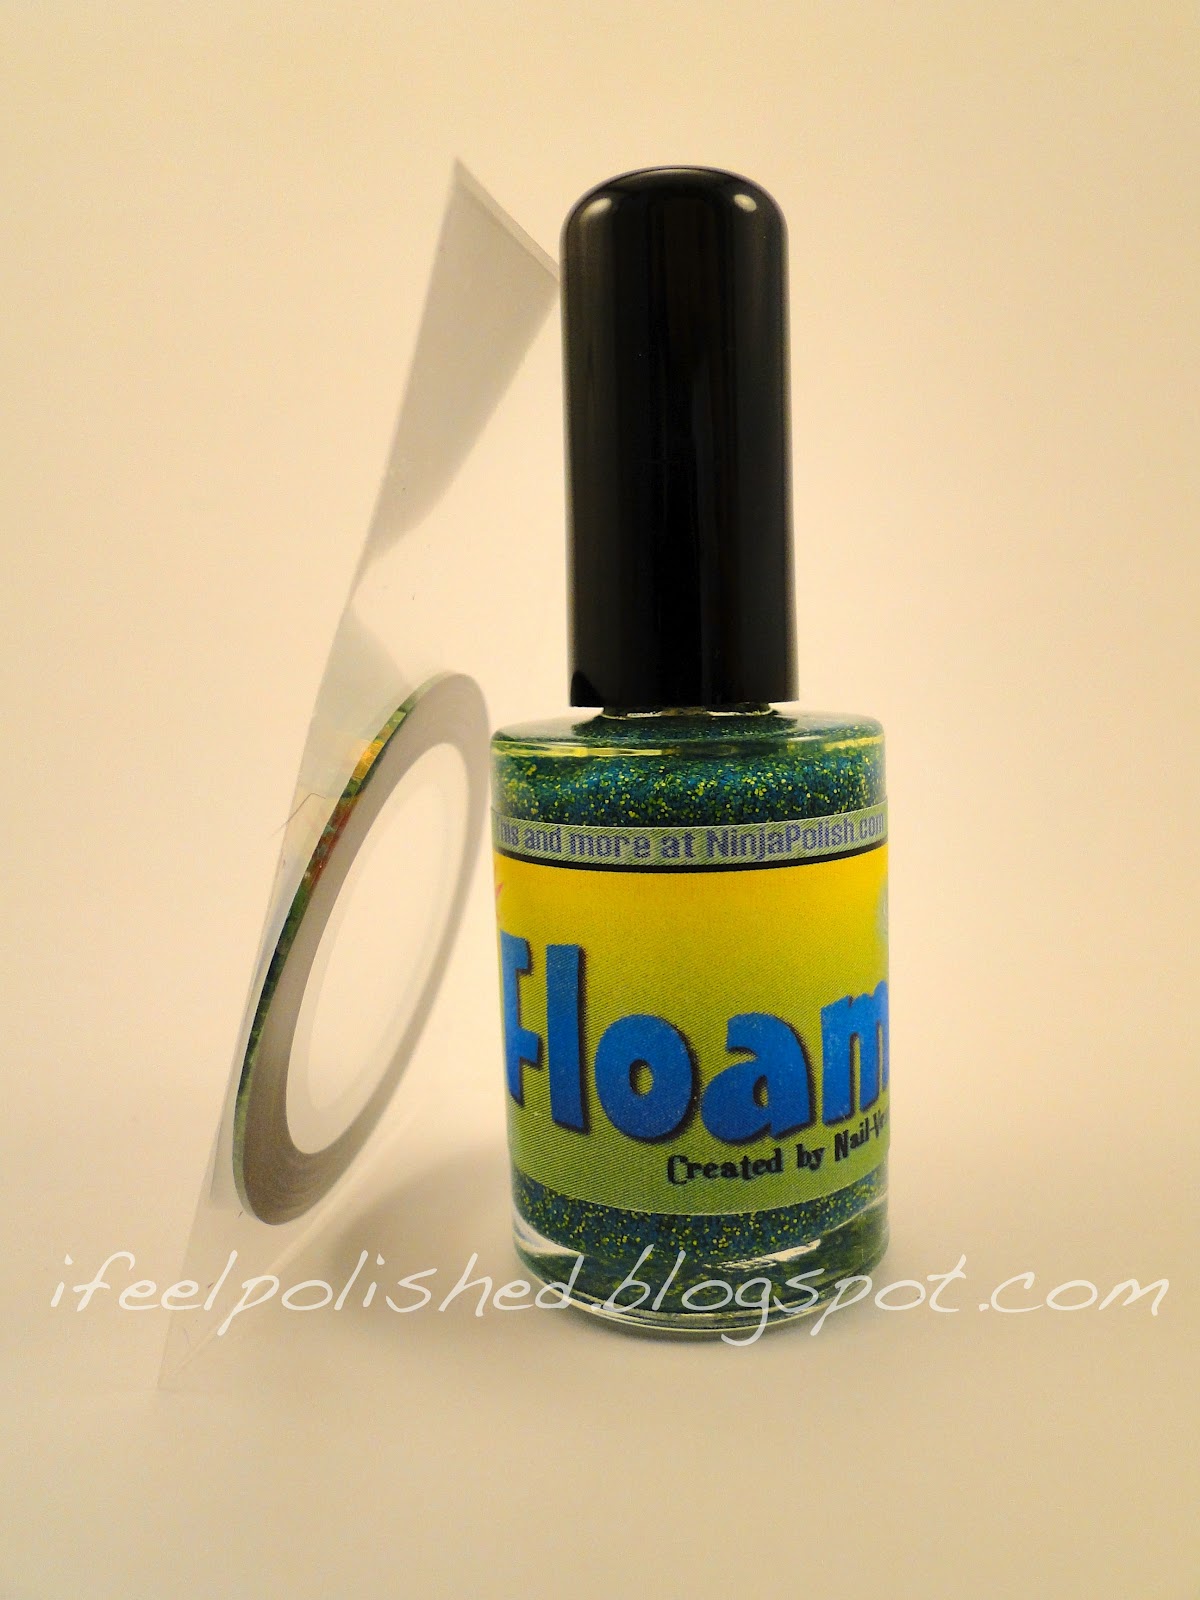
Floam (created by Nail-Venturous Lacquers and sold by Ninja Polish) and Green Striping Tape

Rainbow Honey Hoof Wrassle and Orange Striping Tape (perfect for Halloween!)

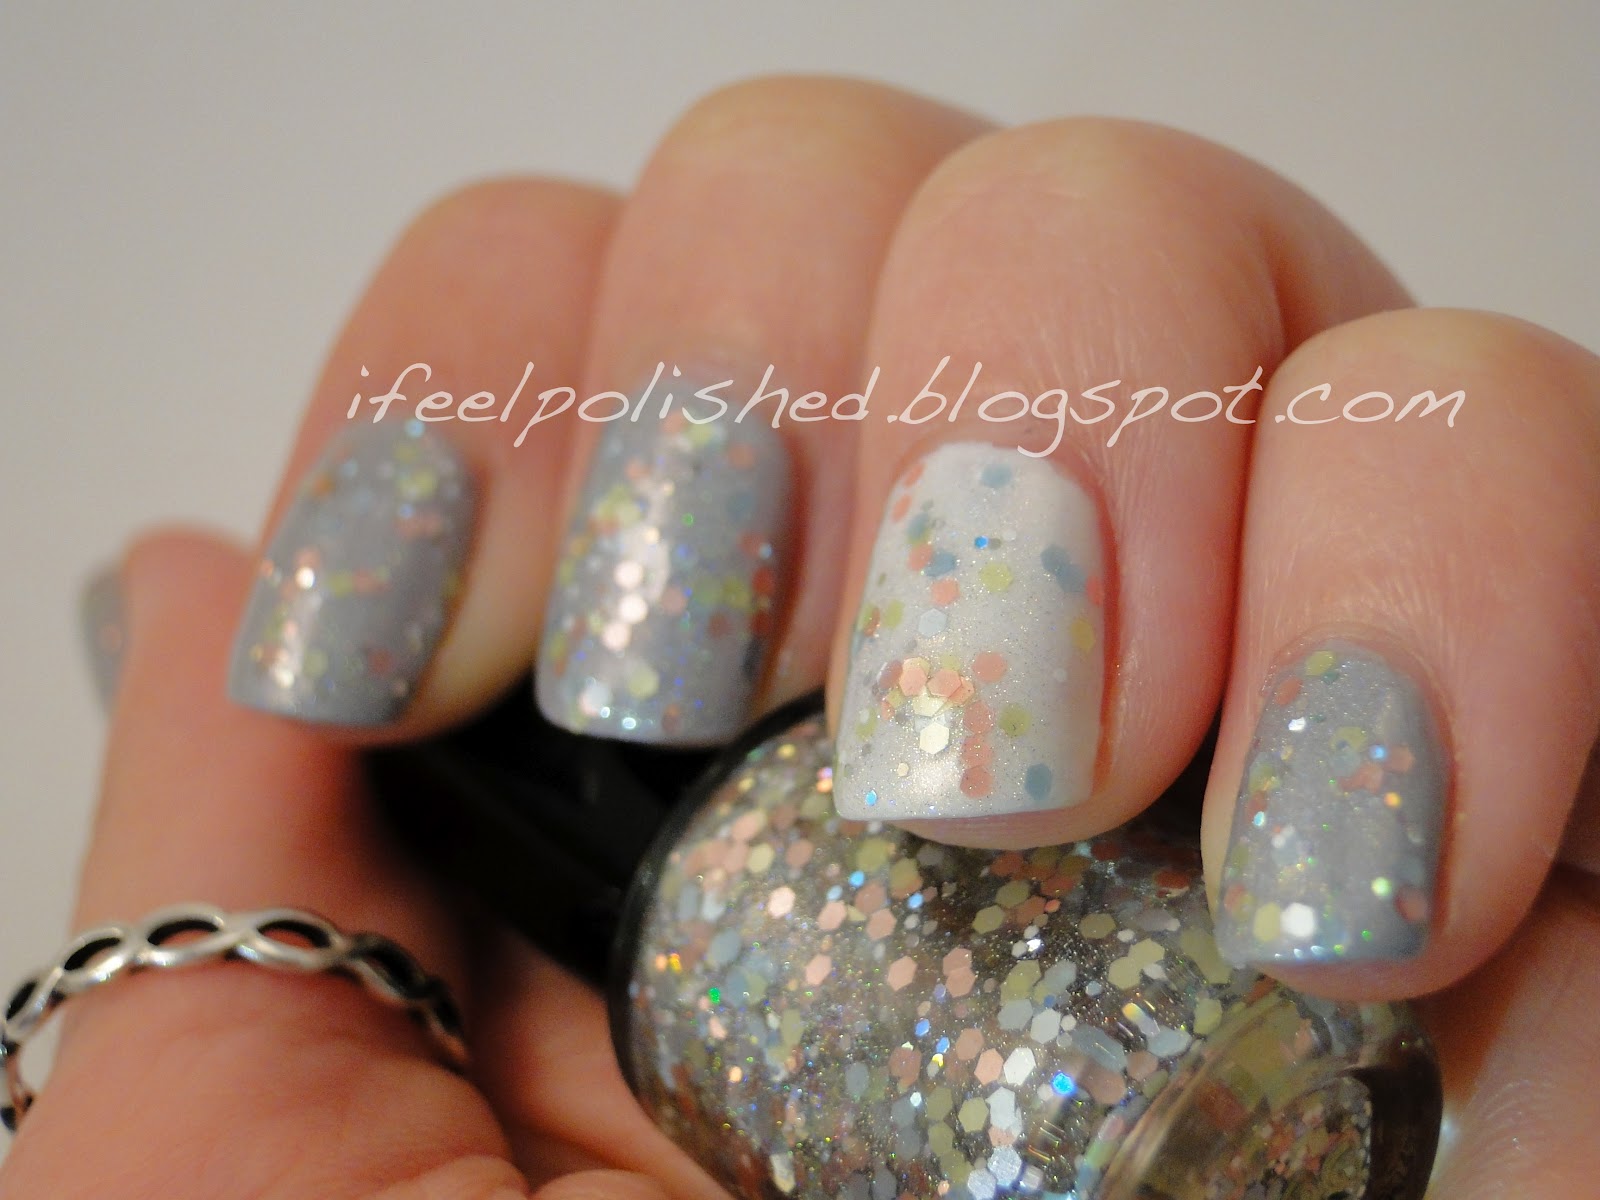
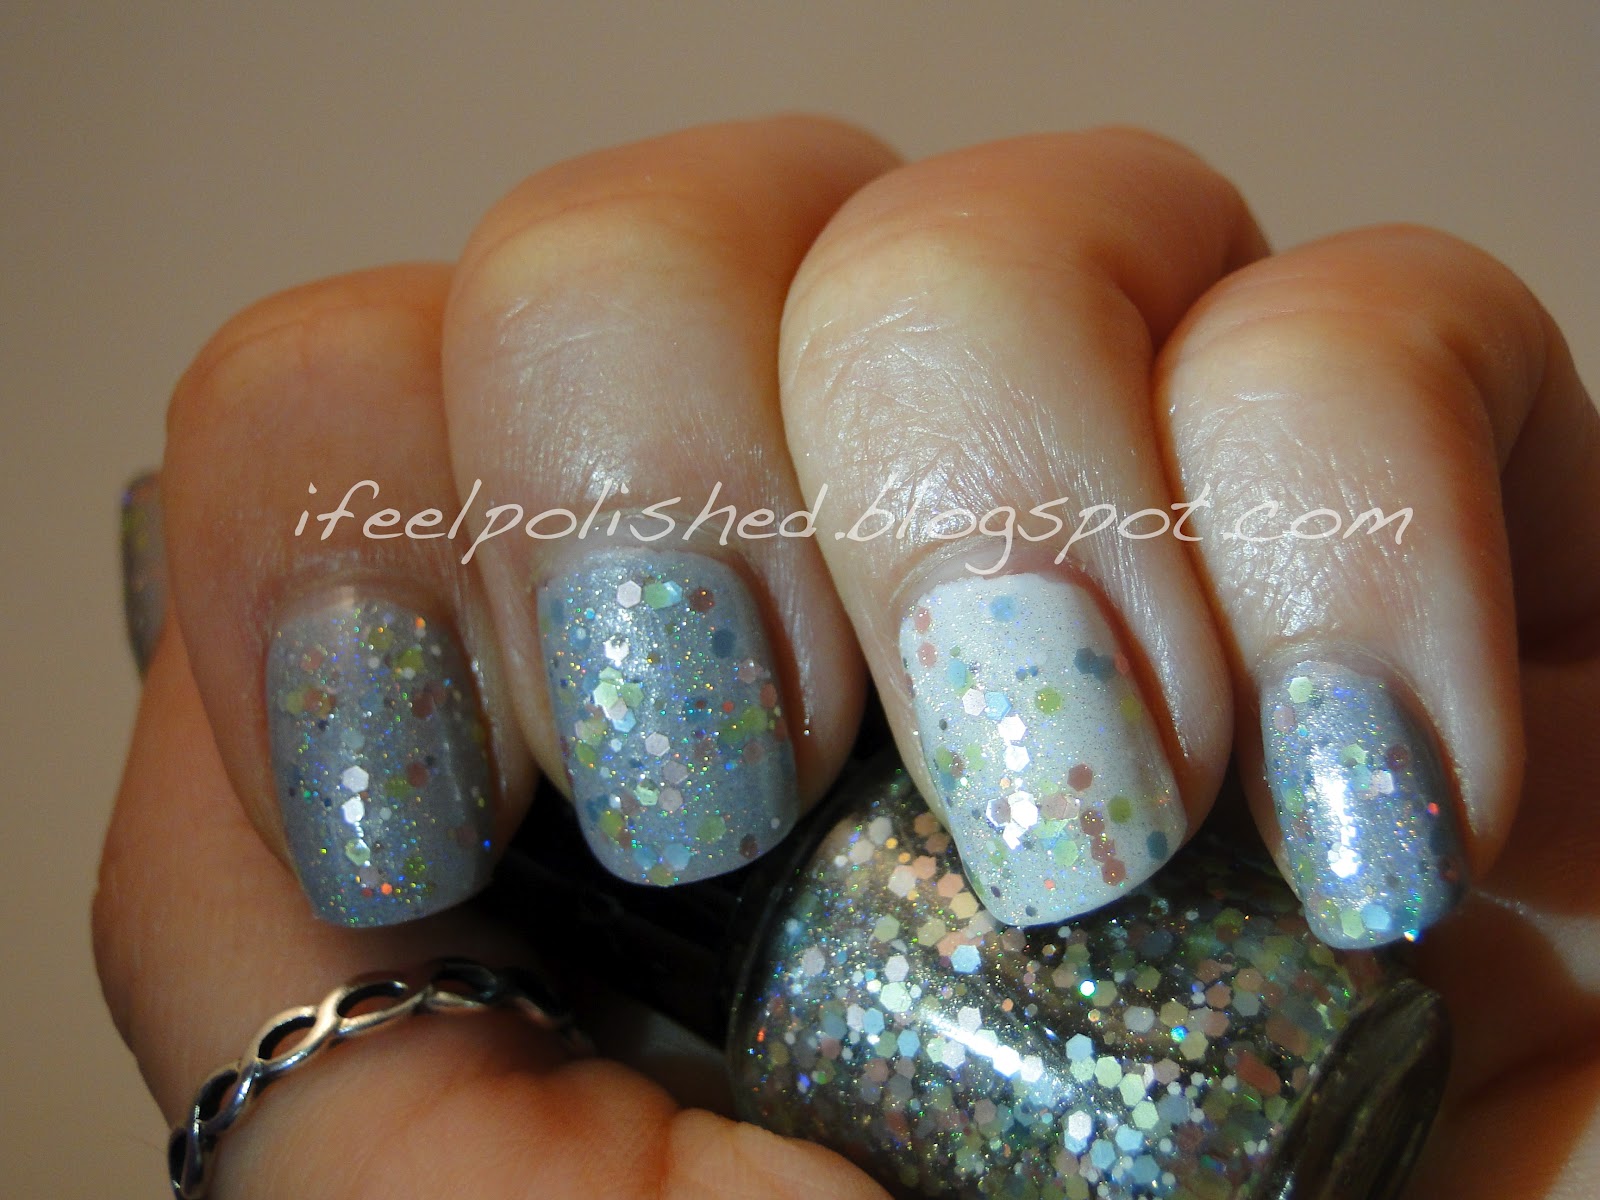
Sonnetarium Snowfall and Silver Striping Tape

My own creation, The Princess's Party Dress, and Burt's Bees Lemon Butter Cuticle Cream

Saturday, October 6, 2012

Halloween Nails: Googly Eyes

This may be the first year I don't absolutely hate Halloween. I worked at a Halloween specialty store in Hell (it's a real place, look it up, lol!) for five years and it truly made me hate Halloween. Halloween day after day really gets annoying. However, planning Halloween nails has been a lot of fun! So, I may be able to get onboard with Halloween this year! Not too much though, baby steps... :) 

To begin my Halloween nails this month, I did these adorable googly eye nails! I used two coats of OPI Black Onyx. Once my nails were dry, I used my largest dotting tool and Julep Kate to create white eyes. I then used Black Onyx and a smaller dotting tool to make pupils. These turned out really cute! I'd love to try them again with a glow in the dark top coat over the white. Enjoy! :)

Googly Eye Nails

Halloween Nails

Halloween Nails

P.S. Go enter 's giveaway! :)

Tuesday, October 2, 2012

My First Polish!

I made my very first polish! Not a franken but an actual polish that I tested the glitter for and everything! :) Go me! I was actually testing six polishes, but with as busy as school has been keeping me, this is the first one I've had time to properly finish and use. It's called The Princess's Party Dress. I used the Pretty in Pastel matte glitter mix from You Mix. I also added in some small silver holographic glitter and small white matte glitter. Finally, I added Spectraflair to make it holographic! Yep! Would you expect anything less from me?! :) Anyways, here is one coat over Zoya Harley and Julep Kate. I think it'll look awesome over a black polish...I just haven't gotten around to trying that yet! The holographic-ness of it is hard to see. I did the best I could to showcase it! Enjoy! :)


Newer Posts Older Posts Home