Tuesday, April 29, 2014

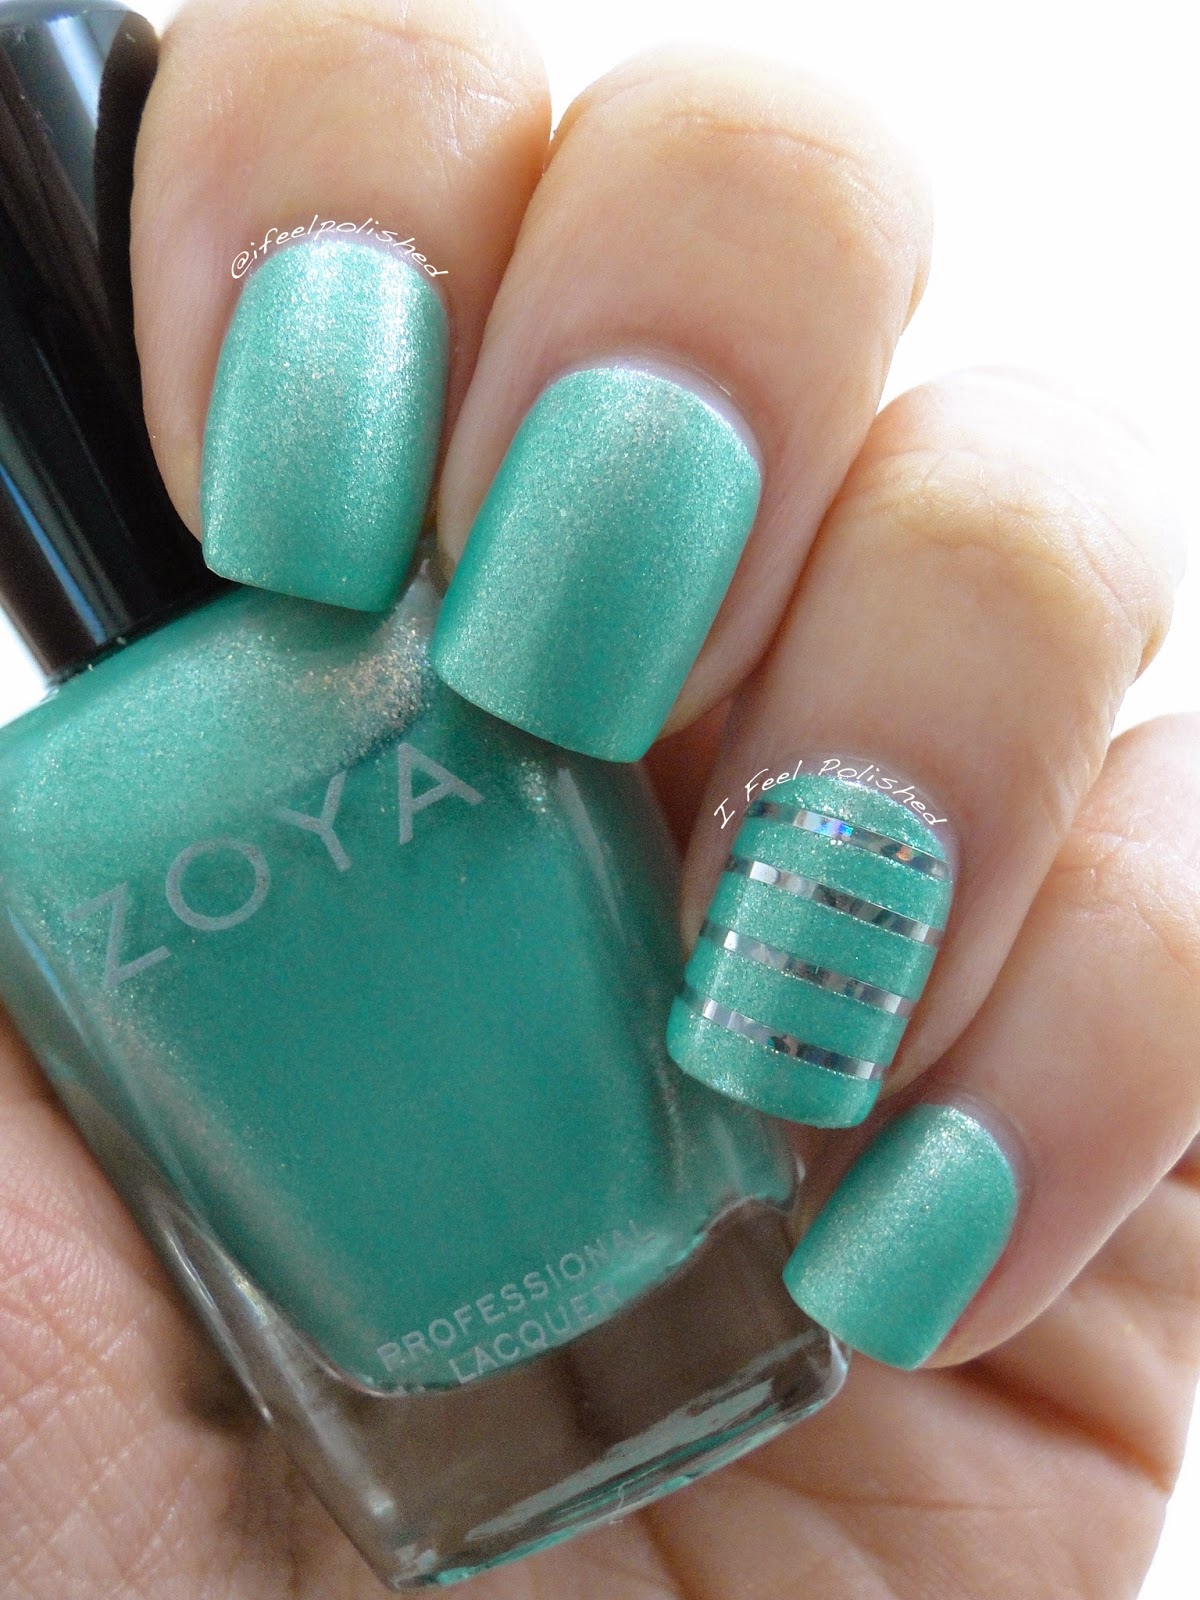
Zoya Dillon Stripes

I did some really simple spring nails recently, which I have for you today! 

I love Dillon from Zoya's new Awaken Collection! It's the perfect shimmery mint polish! I did two coats of Dillon on all of my nails. Then, using a matte top coat, I mattified all of my nails except for my accent nail. On my accent nail, I taped down silver holographic striping tape before top coating with with normal top coat. Enjoy! :)

Spring Nails

Spring Nail Art

Spring Nail Art

Saturday, April 26, 2014

Autism Awareness Leopard Nails

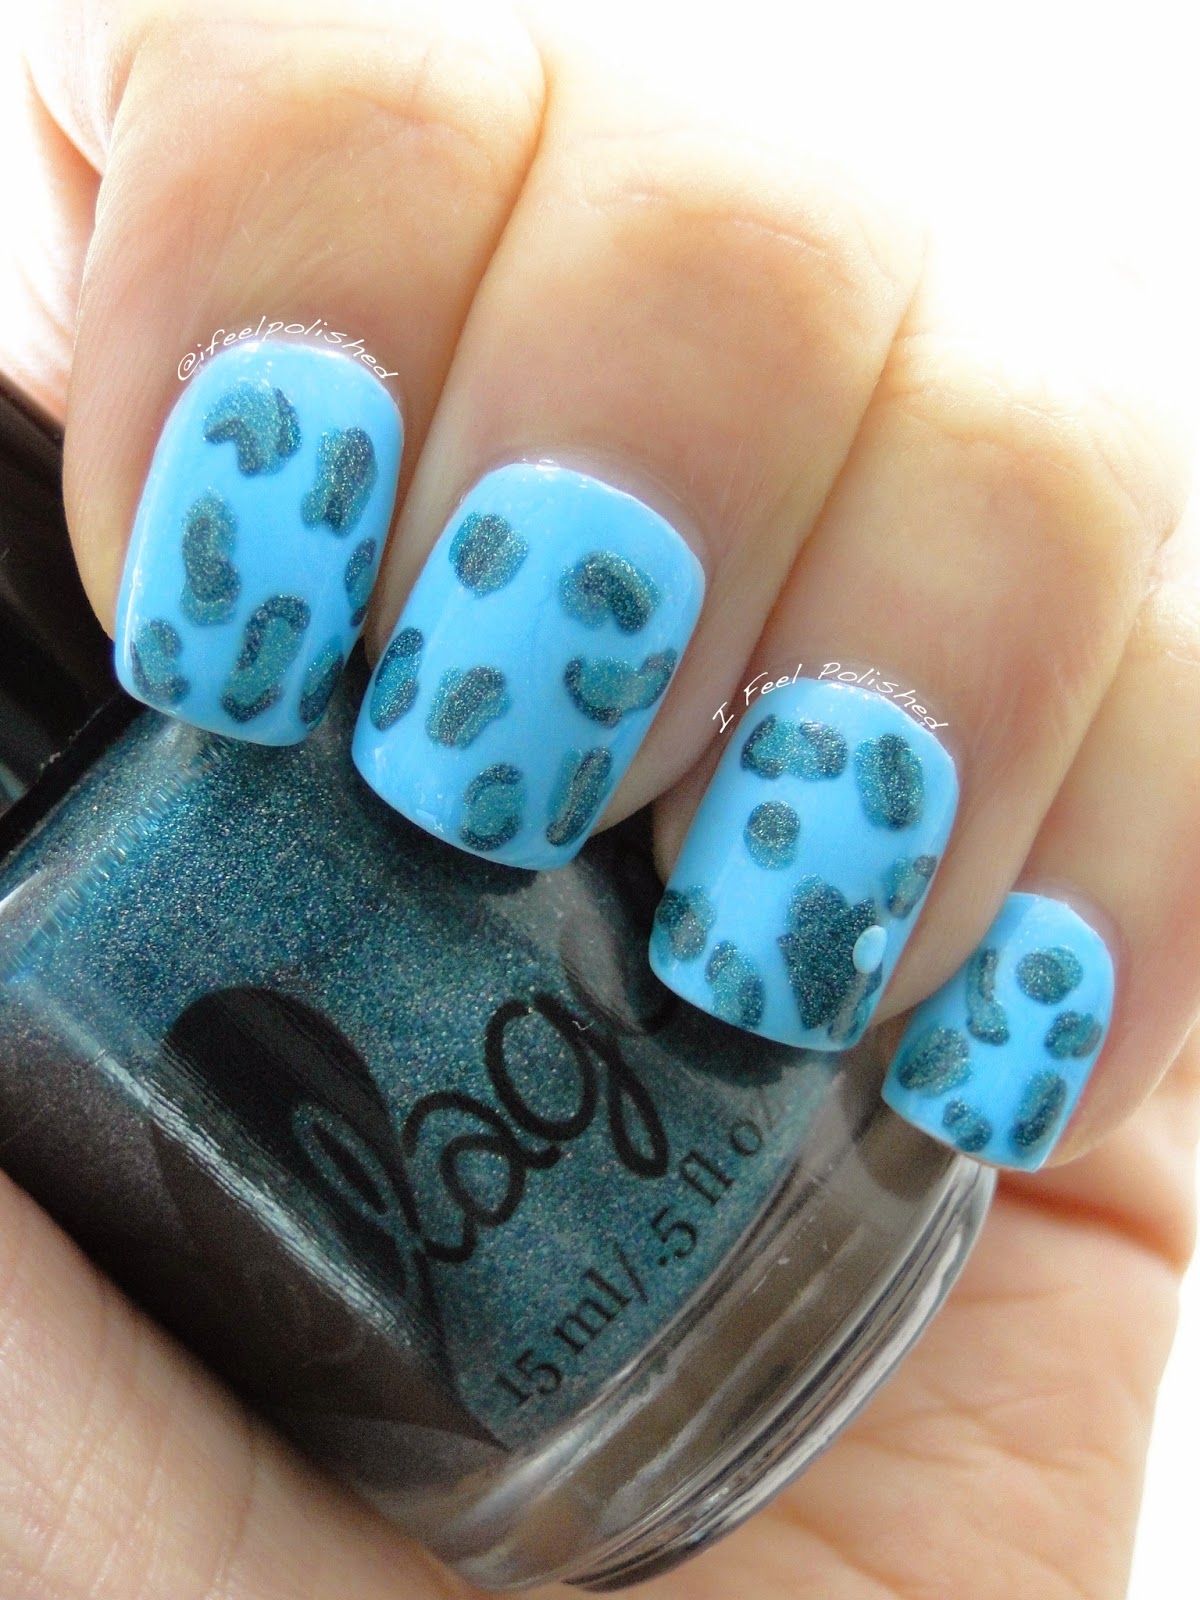
Here are some more Autism Awareness nails! This time I did leopard print in blue! I began with a base of three coats of ellagee Delphinium. Then I created the leopard print using ellagee The Hottest Spot North of Havana and Rainbows All Over Your Blues! Enjoy! :)

Autism Awareness Nails

Autism Awareness Nail Art

Leopard Print Nails

Wednesday, April 23, 2014

Twin Nails: Complementary Colors with Southern Sparkle Nail Art

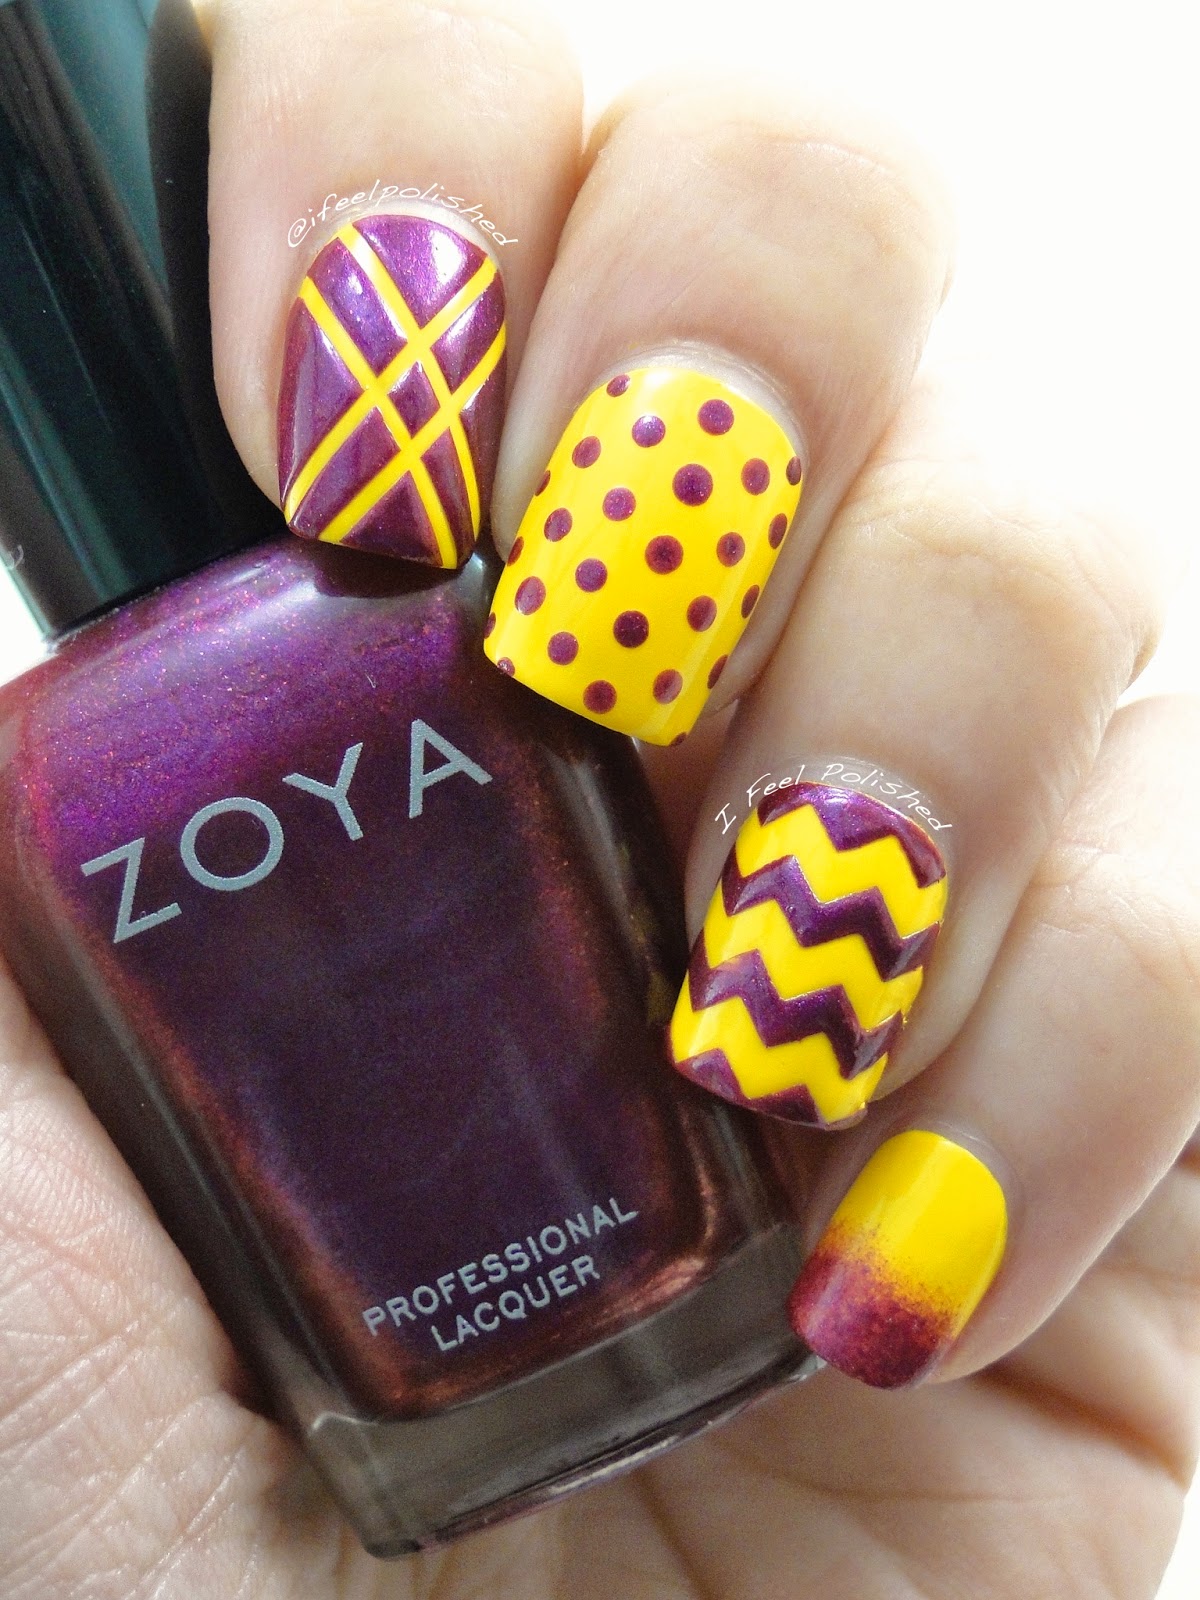
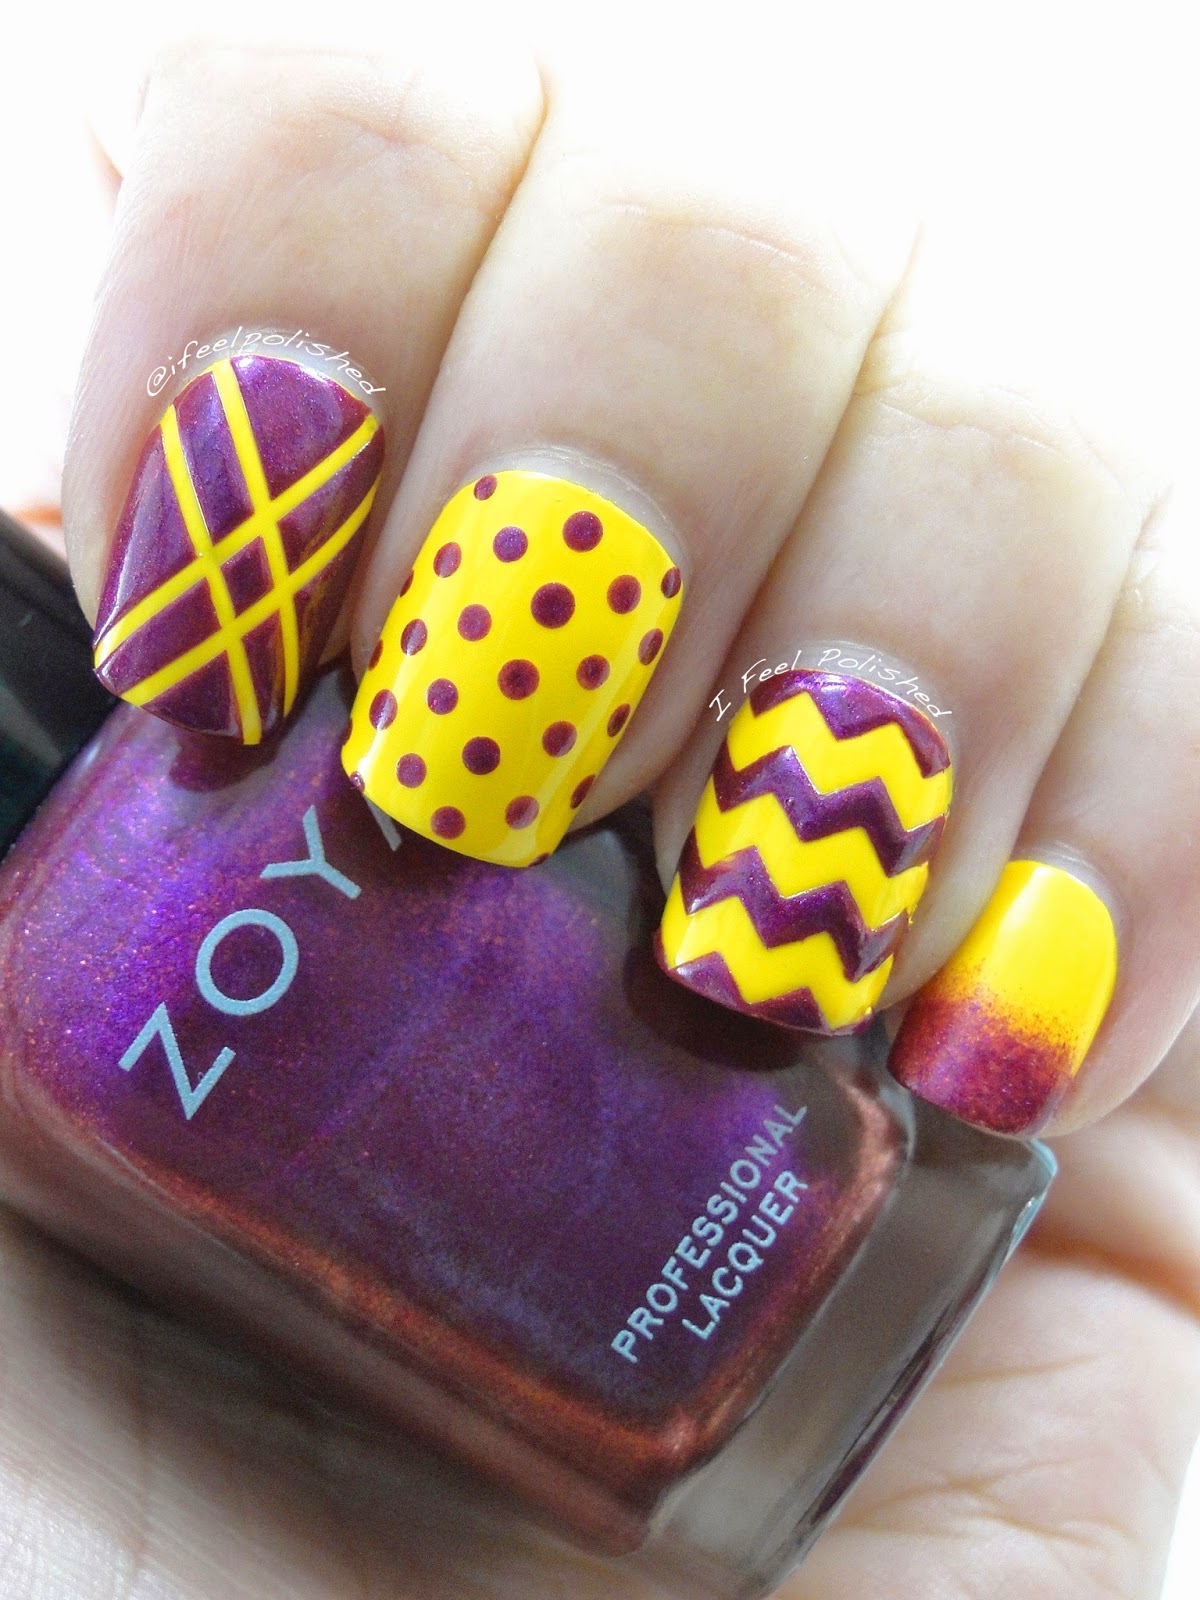
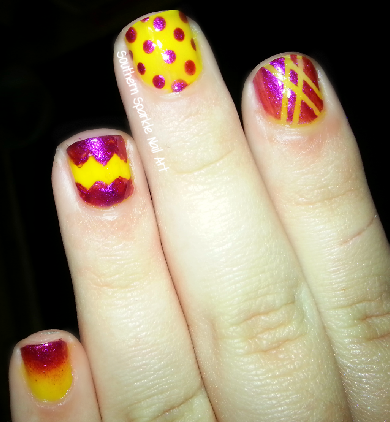
My twin nails today are nails that Samantha from Southern Sparkle Nail Art and I did together! We were assigned complementary colors in our Twin Nails group on Facebook. We decided to go with yellow and violet as our complementary colors. Using Zoya Darcy and Mason, I created a nail art skittle mani that Samantha and I decided on together! Skittle manis are when you use different colors on each nail, so we used that concept to do different nail art on each nail! 

I began with two coats of Zoya Darcy on each nail. Samantha used Sation Abbacadazzle. Here's the nail art I did for each nail:

Pointer: I added a double criss-cross striping tape design over Darcy, polished Mason on top, and pulled the tape off.
Middle: I added Mason dots on top of Darcy.
Ring: Using chevron decals made by You Polish, I polished Mason on top, then pulled them off.
Pinkie: Using a ripped off piece of makeup sponge, I created a Mason gradient over Darcy.

Be sure to check out Samantha's blog, , and ! Enjoy! :)

Twin Nail Art

Nail Art Skittle

Complementary Colors

Purple and Yellow Nails

Southern Sparkle Nail Art

Southern Sparkle Nail Art

Tuesday, April 22, 2014

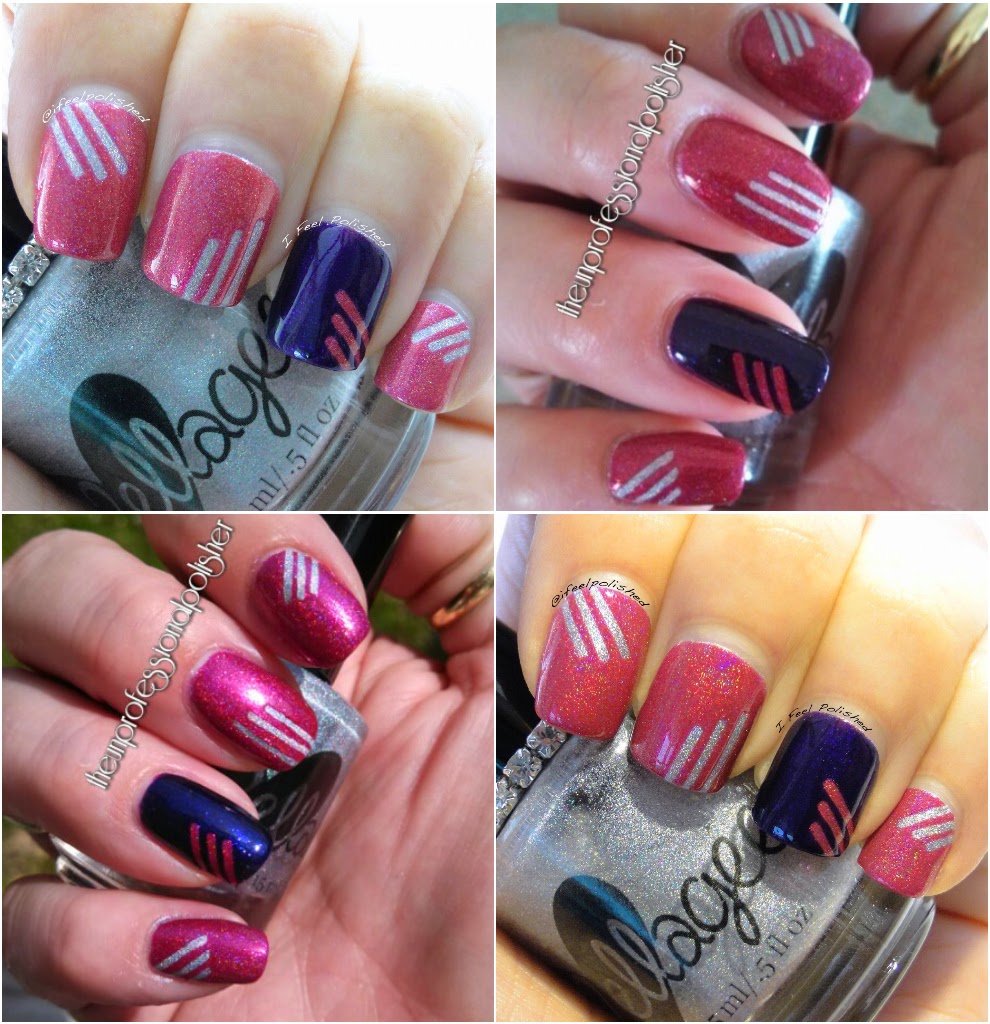
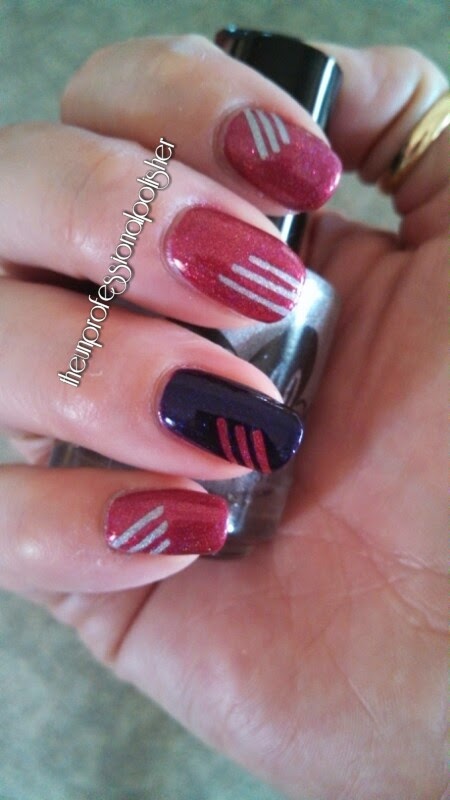
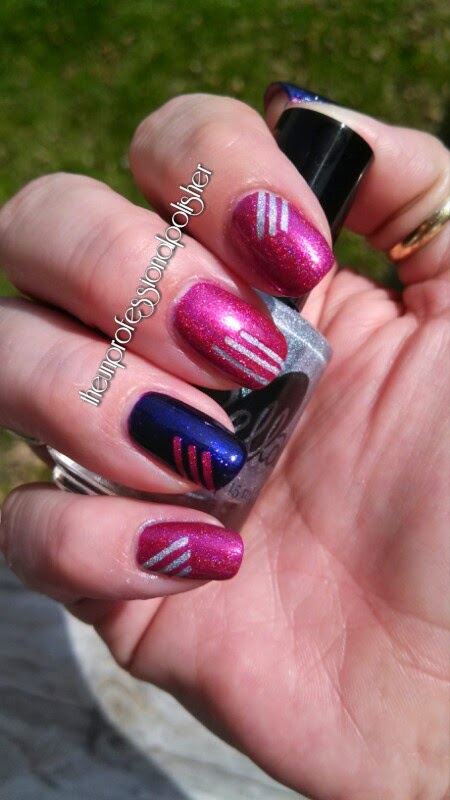
Twin Nails: Holographic Stripes with The Unprofessional Polisher

I'm really loving doing twin nails! It's so much fun working with someone else to create twin designs. This time I paired up with my friend, Angie! I just adore her! We met through my blog and became fast friends! She's polish obsessed too, and she just recently started blogging as well! I knew as soon as she started her blog that we HAD to do twin nails! You'll definitely being seeing more twin nails from us in the future!

Since we both have a load and a half of ellagee polish :), we went with three of those polishes for our nail art! I began with two coats of Countdown to 2014, a silver holographic polish with purple shimmer. I used two coats of Hear Me Roar on my accent nail. After a coat of glass, I put three pieces of striping tape of varying lengths down on each nail. I polished Hear Me Roar on all of my nails except my accent nail, which has Moonlit on it, and then pulled the tape off! One coat of Glass and I was ready to go! 

Be sure to go check Angie out! She has a blog, , and ! Enjoy! :)

Twin Nail Art

Easy Nail Art

Striping Tape Nails

Striped Nails

Striping Tape Nail Art

Holographic Nails

Holographic Nail Art

Saturday, April 19, 2014

Easter Egg Nails

With tomorrow being Easter, I decided to do one more set of springy Easter nails! I was going for an Easter egg look with these, and I used nail decals by You Polish for them! She just started making nail decals and they are awesome! Sometimes nail decals aren't sticky enough to stay stuck while you polish over them, so you end up getting polish under them and messing up the art. :( But Lauren's are sticky enough that they stay stuck when you polish over them, and they pull off easily without taking polish with them, provided you wait enough time before you use them! I'm really loving her nail decals and I can't wait to try out some more!

Ok, onto the nails! I started with three coats of ellagee's Aloha Isle. This is the perfect pale, shimmery yellow, but it is a sheer polish, which is why I had to do three coats. Afterward, I used Glass to make the polish dry quickly so I could get on with the nail decals! :) I stuck the large chevron decals on, polished over them, and then pulled the decals off. These are the polishes I used:

Pinkie: Marvelous Delilah
Ring: Joyful Chloe
Middle: Bashful Sadie
Index: Forgetful Lucy

Once the polish was dry, I used Glass top coat on them! Enjoy! :)
Easter Nails

Easter Egg Nails

Spring Nail Art

Thursday, April 17, 2014

ellagee Cuticle Oil Review {Press Sample}

ellagee recently came out with her own cuticle oil! I nearly fainted in excitement because if there's one product I use the most on my nails, it's cuticle oil! I decided to test it for a week to see how it compared to my usual cuticle oil. 

First up, let me explain why I use cuticle oil. Of course, I use it to keep the skin around my nails hydrated and looking its best. However, I also use it because it improves my nails, too! I really feel like the cuticle oil helps to strengthen my nails, make them grow quicker, and helps the surface of my nails. 

Ok, so how did my little test come out? As it turns out, Laura's cuticle oil is amazing! Ahhhhh-mazing! It soaks in fast, which I love because I don't want to wander about with oily fingers for hours! It also smells incredible! I used her Orange Blossom Special scent, which reminds me of oranges and honeysuckle. She also has a Nature's Bouquet scent, which is the natural scent of all of the ingredients she uses in the oil. 

I tested the oil for a week. During this week, I continued to polish my nails as usual. I also used the oil like I normally would. I usually apply it a few times while at work, between all swatches I do, and always right before bed. Before bed is when I really soak my nails and cuticles with oil. As you can see below, my nails were longer and stronger after one week of use. Also, you can see that the ridges in my nails are completely gone. Additionally, my cuticles look more hydrated and healthier. All in all, this cuticle oil is now my go-to and I use it constantly as the main staple in my cuticle care routine!

The best part? This oil is just as good as other oils I have used, if not better, and it's just a fraction of the price! $6.00 will get you 10 ml and $6.50 will get you 15 ml! It also comes in a roll-on bottle (that's the 10 ml one) or brush bottle (the 15 ml one), so you can choose what's convenient for you! My preference is the roll-on bottle, because I can apply it with just one hand that way! I'm sure you will be as amazed by your results as I am if you try Laura's cuticle oil! Enjoy! :) 
Tuesday, April 15, 2014

Spring Distressed Nails

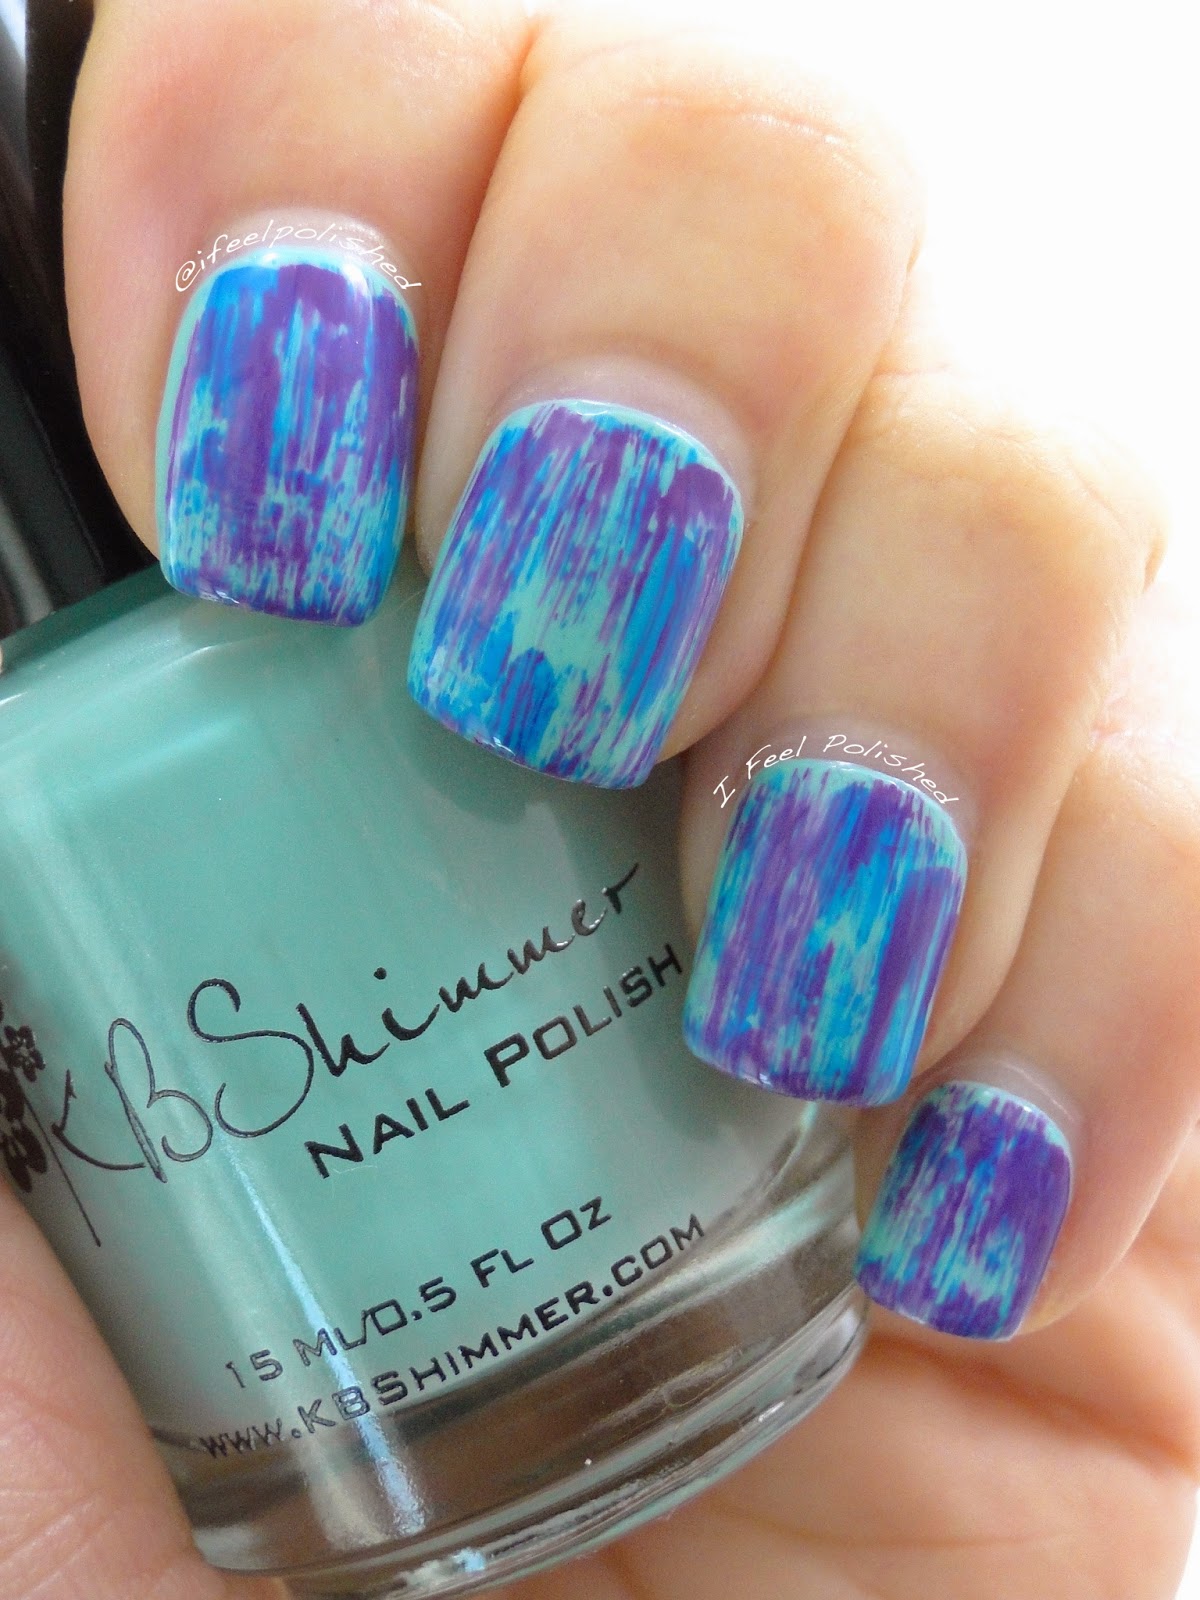
Looking for some really easy nails to do for Easter this Sunday? Or even just spring in general? If so, you might want to consider giving distressed nails a try! They are beyond simple and always turn out looking awesome!

I have some spring distressed nails for you today that I did using polish by KBShimmer! I began with two coats of A Touch of Glass, a lovely, light aqua-minty base! Then, I used KBShimmer's Sky Jinks, a beautiful bright blue, for the first part of the distressed process. Take the brush, and brush as much polish off as you can on the neck of the bottle. When you feel like the brush must be completely dry, then it's ready for you to brush it over your nails. It ends up looking streaky and fantastic! I repeated the process with Pansy-Monium, a pretty, bright purple! Once I was satisfied with the distressing, I polished on some top coat! I love these so much, I'm going to do another version of them for this weekend! If you end of trying some distressed nails, I'd love to see them! Post them on my wall or tag me on ! Enjoy! :)

Spring Nail Art

Spring Distressed Nails

Easter Nails
Older Posts Home